

Transforming your home from a dated or visually cluttered space into an inviting sanctuary does not always require knocking down walls or rebuilding from the ground up. By strategically updating core interior elements, you can achieve a complete aesthetic and functional shift. High-impact alterations, such as updating surface finishes, modernizing central focal points, and elevating structural foundational elements, offer an unmatched return on your investment of time and resources.
A thoughtful redesign relies on focusing your efforts where they matter most. Ground-level updates, kitchen and bath modernizations, structural focal points, architectural lighting, storage integration, and complete visual canvas shifts form the backbone of a successful interior overhaul. By understanding how to approach each phase with practical, professional techniques, you can execute a home makeover that delivers lasting style, comfort, and market value.
Elevating the Ground Level

The floor under your feet sets the baseline tone for every single room. Replacing worn surfaces establishes an immediate sense of luxury, cleanliness, and cohesive architectural flow throughout the residence.
Choosing Resilient and Warm Wood Surfaces
When replacing aging floors, rich timber options provide unmatched longevity and traditional charm. Investing in high-grade hardwood flooring adds timeless beauty, structural stability, and incredible long-term financial equity to your property. When planning to install real timber materials, it is wise to order samples directly from regional flooring stores and installation specialists so you can evaluate how different species look under your specific home lighting. Before laying down any dynamic plank patterns, allow the raw materials to acclimate inside your space for several days to prevent future warping.
-
Select engineered timber options for basements or rooms prone to slight humidity fluctuations.
-
Choose wider plank profiles to visually open up smaller, tighter floor plans.
-
Match the wood stain undertones with your existing baseboards and structural cabinetry.
-
Order a minimum of ten percent extra material to account for corner cuts and waste.
Take time to evaluate plank width, as wider profiles tend to create an expansive visual effect in open-concept layouts. Furthermore, selecting the proper finish—such as matte, satin, or wire-brushed—will help disguise micro-scratches caused by pets or everyday household movement.
Installing Soft Comfort in Private Living Zones
In areas reserved for relaxation, such as bedrooms, nursery spaces, and cozy basements, plush fiber options remain the preferred surface choice. Choosing a high-density cushion pad underneath your plush carpet flooring will dramatically extend its lifespan while providing superior acoustic insulation between vertical floors. Select stain-resistant fibers like solution-dyed nylon if you have pets or high foot traffic.
-
Opt for low-VOC padding materials to maintain healthy indoor air quality.
-
Vacuum newly installed fibers frequently to remove excess manufacturing fuzz.
-
Use protective furniture cups under heavy bed frames to prevent permanent pile crushing.
-
Keep extra carpet remnants stored in a cool area for future patch repairs.
To keep the finished product looking seamless, ensure that seam layouts run parallel to natural light sources entering the windows. A high-quality underlayment also improves thermal retention, making bedrooms significantly cozier during cold winter months.
Ensuring Flawless Foundation Preparation
Even the highest quality surface materials will fail prematurely or squeak if the subfloor beneath them is uneven, cracked, or structurally compromised. Consulting experienced floor leveling contractors before laying down new materials will eliminate dangerous dips, structural slope issues, and subfloor flex. These experts apply specialized self-leveling cementitious underlayments that dry into a perfectly flat plane, which protects expensive tongue-and-groove joints from snapping over time.
-
Check all wooden subfloor panels for loose screws or squeaks prior to leveling.
-
Apply a dedicated primer to concrete substrates to ensure proper bonding of leveling compounds.
-
Allow self-leveling compounds to cure completely according to manufacturer timing.
-
Verify surface flatness across the room using a long professional straightedge tool.
Always inspect subfloor moisture levels thoroughly prior to any surface application. Taking the time to properly prep the foundation guarantees that your new top-layer surfaces lie flat, feel solid, and remain whisper-quiet for decades.
Revolutionizing Kitchen and Bath Surfaces
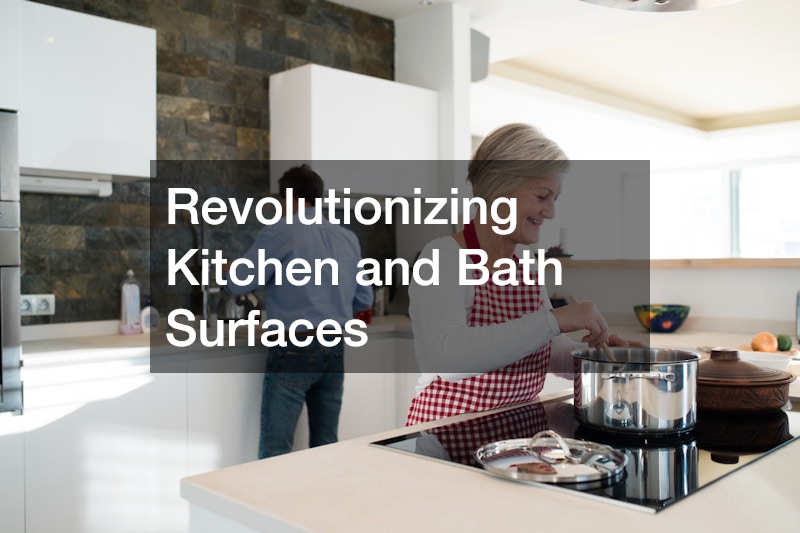
Countertops serve as both the visual centerpiece and the daily workhorse of your kitchen and bathroom spaces. Modernizing these essential prep zones immediately elevates the functional quality and visual appeal of the entire room.
Selecting Premium Materials for Prep Areas
Upgrading tired laminate surfaces to solid stone instantly shifts the overall luxury tier of your kitchen. Working with professional countertop services helps you choose between non-porous engineered quartz, natural heat-resistant granite, or classic marble depending on your lifestyle.
-
Evaluate quartz options if you prefer low maintenance without periodic re-sealing needs.
-
Choose honed finishes if you wish to reduce the appearance of finger smudges and water spots.
-
Examine full-size stone slabs in person rather than relying solely on tiny color swatches.
-
Verify weight capacities on upper and lower cabinetry before heavy slab arrival.
Pay close attention to slab thickness, as thicker profiles convey a sense of architectural permanence, while integrated edge details like bevels or waterfall ends can accentuate both traditional and modern design preferences.
Crafting Bespoke Shapes and Integrated Designs
Standard off-the-shelf slabs cannot match the precision or aesthetic impact of tailor-made stone surfaces. Ordering a custom countertop allows you to incorporate custom integrated sinks, flush-mounted cooktop cutouts, and specialized waterfall edges that cascade down cabinet ends.
-
Incorporate pop-up electrical outlets directly into stone prep islands for sleek utility.
-
Plan overhang distances carefully to accommodate barstool leg room comfortably.
-
Match sink cutout radii with your faucet fixtures for a tailored architectural look.
-
Extend stone slabs vertically to create an easy-to-clean backsplash surface.
Measure your cabinet framework thoroughly to ensure it can support heavy stone overhangs without sagging, and consider extending the same stone upward to create a sleek, matching slab backsplash that eliminates dirty grout lines.
Managing Seamless Structural Mounting and Sealing
The success of a stone upgrade depends entirely on precise execution during the physical placement phase. Scheduling a professional countertop installation ensures that heavy, rigid slabs are leveled within hair-thin tolerances, preventing structural stress cracks. Technicians use specialized suction equipment and color-matched epoxy adhesives to render seam lines almost invisible to the naked eye.
-
Inspect all perimeter silicone seals immediately to verify complete water protection.
-
Avoid resting heavy tools or standing on freshly mounted stone surfaces.
-
Reapply high-grade stone sealer annually if working with porous natural granite or marble.
-
Clean stone surfaces exclusively with pH-neutral soap formulations to protect finishes.
Once the stone is secured, apply a high-grade penetrating sealer immediately to protect against food stains and moisture infiltration. Proper maintenance guarantees that your investment remains as radiant as the day it was positioned.
Modernizing Focal Points and Gathering Spaces
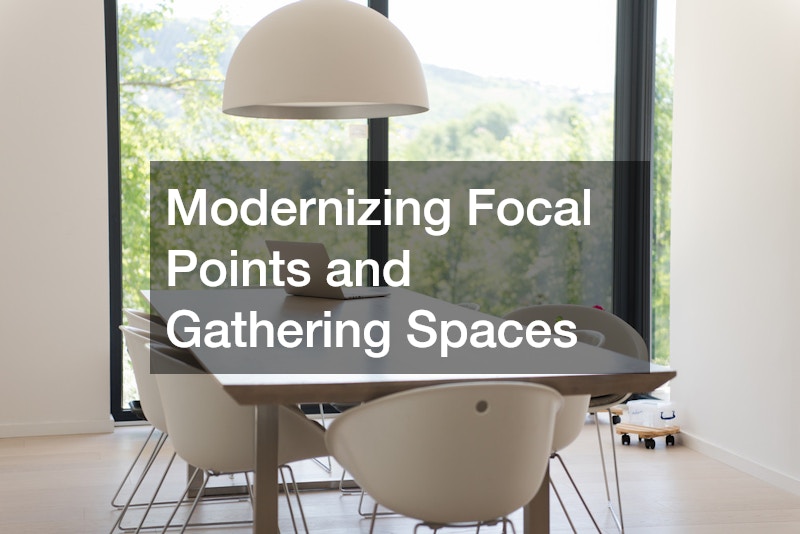
A central hearth draws the eye the moment anyone enters a living space. By giving this classic focal point a modern overhaul, you instantly re-establish the cozy, inviting character of your main living room.
Updating Traditional Hearth Structures
An outdated hearth can anchor a room in the past, but updating it instantly modernizes your entire living space. Upgrading older wood-burning setups to clean-burning fireplaces improves your home heating efficiency while eliminating messy soot, ash, and smoke.
-
Frame hearth extensions with non-combustible tile, natural quartzite, or smooth microcement.
-
Install heat-deflecting mantels to protect mounted televisions or artwork above the firebox.
-
Replace rusted chain screens with sleek, tempered glass fireplace doors.
-
Extend decorative stonework all the way to the ceiling to maximize room height.
Consider enclosing existing brick facades with floor-to-ceiling porcelain tile, microcement, or warm timber paneling to create a striking architectural feature wall that defines the room.
Incorporating Advanced Warming Technologies
Enhancing your central hearth involves choosing components that fit your specific lifestyle, space constraints, and heating demands. Selecting modern fireplace products, such as remote-controlled gas inserts or linear electric units with custom flame color modes, gives you instant temperature control at the press of a button.
-
Look for units featuring high energy-efficiency ratings to lower heating costs.
-
Choose units with smartphone integration for remote home pre-heating convenience.
-
Select realistic ceramic log or crushed glass bed media to suit your interior design style.
-
Verify clearance requirements for surrounding drywall, wood, and electronic devices.
Incorporate built-in media nooks, floating wooden mantels, or flush-mounted hearth extensions to seamlessly combine classic fireplace warmth with modern home entertainment systems.
Redefining Walls with Color and Texture
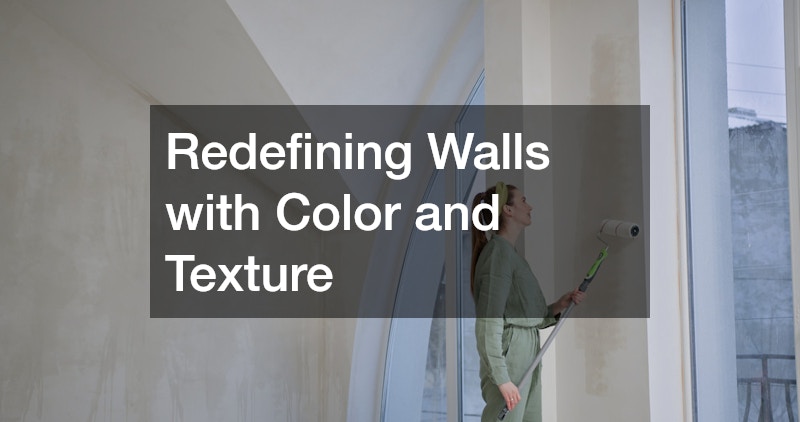
Paint is the single most cost-effective tool in interior design, capable of changing perceived room proportions, amplifying light, and instantly shifting a home’s mood.
Executing Professional Wall Applications
While painting may seem like a simple weekend endeavor, flawless wall transformations require meticulous surface preparation and technique. Hiring a reputable painting company guarantees proper drywall patching, thorough sanding, precise edge masking, and uniform coats free of lap marks or drips.
-
Clean walls thoroughly with trisodium phosphate to clear accumulated grease before painting.
-
Apply high-adhesion stain-blocking primers over dark previous wall colors.
-
Caulk all trim joints and window frames to establish crisp, seamless lines.
-
Maintain controlled room humidity during paint drying to avoid uneven sheen patches.
Professional crews use commercial-grade spray equipment for trim and cabinetry, achieving a smooth finish that is nearly impossible to match with standard hand rollers.
Choosing Cohesive Color Palettes
Selecting the right paint colors requires analyzing your home’s architectural lighting, existing furniture tones, and room dimensions. Test multiple paint swatches directly on different walls to observe how the pigment reacts to morning sunlight versus warm evening lamps.
-
Use light, cool paint shades to make small, enclosed rooms feel larger.
-
Select warm neutrals to introduce cozy atmosphere into expansive, high-ceiling spaces.
-
Apply dark accent colors strategically on feature walls behind beds or entertainment centers.
-
Paint ceiling surfaces a bright soft white to maximize overhead light reflection.
Use matte or flat finishes on ceilings and low-traffic walls to hide minor drywall imperfections, while reserving durable satin or semi-gloss sheens for high-traffic hallways, kitchens, trim, and baseboards that require frequent wiping.
Optimizing Architectural Lighting and Storage
To elevate your home beyond basic cosmetic fixes, integrating smart architectural lighting layer systems and custom storage solutions brings refined order and atmospheric control to every square foot.
Layering Multifunctional Light Sources
Relying on a single overhead light fixture often leaves a room feeling flat, harsh, and unwelcoming. Implementing a layered lighting strategy—combining ambient overhead fixtures, focused task lighting, and subtle accent illumination—completely transforms how a space feels at night.
-
Install dimmable recessed LED lights to establish even, controllable ambient brightness.
-
Add under-cabinet LED strip lights in kitchens to eliminate shadows on prep surfaces.
-
Position wall sconces near artwork or mirror frames to introduce warm accent glows.
-
Upgrade outdated wall switches to smart dimmers compatible with voice automation.
By controlling brightness levels across different light sources independently, you can effortlessly transition a room from a bright work environment during the afternoon into a cozy, relaxed lounge by evening.
Integrating Custom Built-in Storage Solutions
Clutter is the enemy of great interior design. Custom carpentry updates, such as built-in shelving units, window seats with hidden storage, and tailor-made closet systems, allow you to keep daily essentials neatly organized while accentuating structural architecture.
-
Maximize vertical space by building open shelving units directly to the ceiling line.
-
Incorporate soft-close hinges and drawer slides to eliminate sharp slamming noises.
-
Add internal drawer dividers to customize storage for specialized cookware or clothing.
-
Finish custom carpentry trim to match your existing baseboard and crown molding designs.
Tailored storage solutions eliminate the visual noise caused by bulky standalone furniture items. As a result, your living spaces feel noticeably larger, cleaner, and significantly more intentional.
Maximizing Transformation Success
To make the most of your interior improvements, approach your home updates in a logical sequence that protects your investment. Complete structural preparation, subfloor leveling, electrical alterations, and stone installations before applying final wall colors or laying delicate surface materials.
-
Create a detailed project timeline to sequence contractors and prevent scheduling conflicts.
-
Establish a realistic contingency budget of fifteen percent for unexpected hidden repairs.
-
Protect newly installed surfaces with heavy cardboard sheeting while other trades work.
-
Maintain continuous communication with trade technicians to ensure accurate design execution.
By focusing on quality materials, proper structural preparation, and precise installation techniques, your interior improvements will yield a beautiful, cohesive home environment that provides daily comfort and lasting value for years to come.